 I designed this class as part of my on-line class work for A Trip Down Memory Lane. Please feel free to use these instructions to make your own layout. You are free to link to this page from any forum etc if you wish. Please do NOT copy this information and/or photos to use for your own classes/forums/webpages without permission.
Supplies needed:
Sassafras – Take A Chance
Sassafras – Love Letters
Sassafras – Say Timber
Sassafras – In Love
Sassafras chipboard stickers, Fur & Fabric Pal Around #25007
Sassafras chipboard stickers, Fawnd Of You #21127
Bazzill Kraft Cardstock
American Crafts – Thickers – Green, Prancer #42812
Corner Rounder
Also needed:
Glue (I use Herma removable)
Black journaling pen (Zig Millennium)
Charcoal Chalk Inkpad (optional)
Cuttlebug + “Tiny Bubbles” embossing folder (optional)
Start by cutting your Bazzill cardstock to size. I scrap in true A4 size, so I cut mine to 29,7x21 centimetres (cm). Please feel free to adapt to another layout size if you prefer. 8.5x11 or 12x12 would work great for this too.
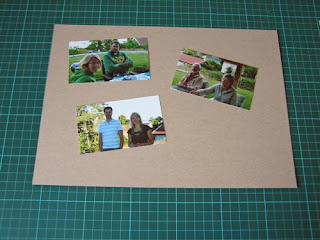
Pick your photos. I have 3 photos at 10x6 cm (15x10 cm landscape photos that I have cut down to the required size).
Get the “Say Timber” paper and cut out the two tree trunks as indicated on the photo below.
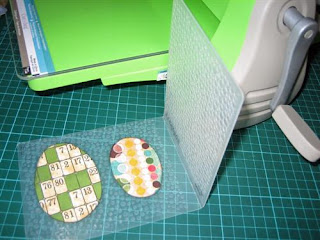
Hand cut (they do NOT need to be perfect…and shouldn’t be) two ovals for the trees. One from the “Love Letters” paper and one from the “Take A Chance” paper. Ink the edges if you wish and emboss using your Cuttlebug.
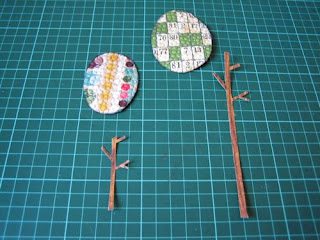
You should now have these pieces to create your trees with.
Cut a piece from the “In Love” paper. The same size as your photos. 10x6 cm. Now decide in which order you want the photos and lay those out together with your journaling piece of paper on your desk so they form a rectangle. Use your corner rounder on the corners shown in the photo below.
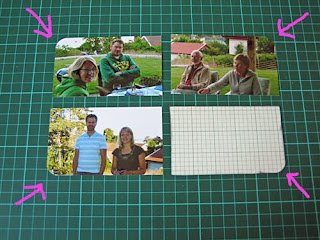
…and then attach these parts to your layout.
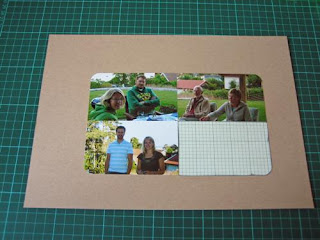
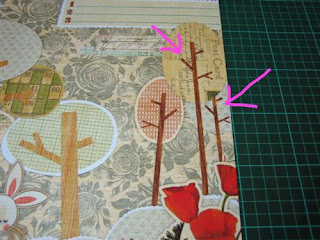
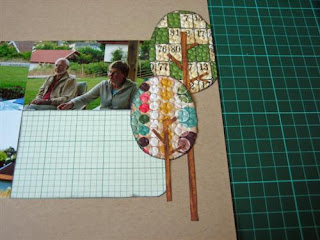
Add your trees at the right side of your photo arrangement, letting one tree go over the edge of the layout (cut off any part that hangs over).
Write your journaling. Draw the outline around your photo arrangement. Two hand drawn lines that are meant to be closer together and further apart in different places. Go for a really lose hand drawn look.
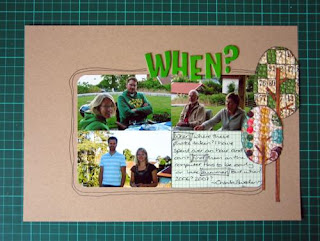
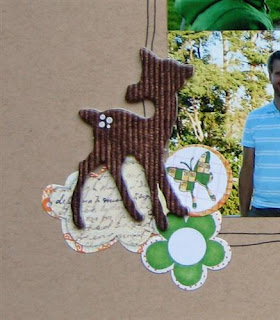
Get your chipboard and cardstock stickers and create a little collage in the bottom left corner.
…and your layout is finished!
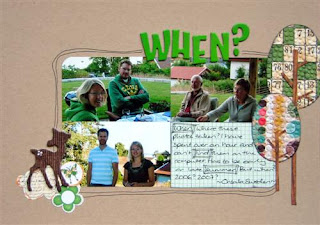
I hope you enjoyed my class! Wishing you lots of fun creating your own version!
 [Tropical Punch - Kay Miller (Kay Miller Designs), Key To The Executive Washroom - Darcy Baldwin (SSD)]


