I have spent the last two days making my own journal. It is landscape 15x20 cm (or for those of you who work in inches - 6x8)...well, that is the pages are that size...the album covers are just a tad bigger. Figured this was a great size if I wanted to use 15x10cm (6x4) portrait photos. The photos would fit perfectly to one side of the page and the other side would be left for journaling.
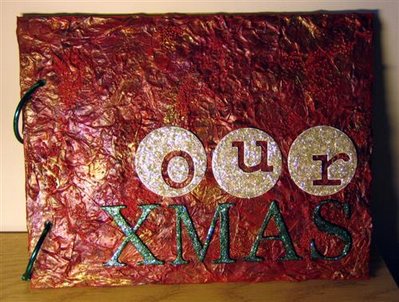 I made my own journal from scratch. Each cover is made up of 4 pieces of card (cut to size) and glued together. Then I have used Basic Grey Blitzen to cover both the inside and outside of each piece. The insides have cute little reindeers jumping about! LOL!
  Then I covered the front of the front cover (if you know what I mean) in Mod Podge and lots of ripped up tissue paper and then more Mod Podge. (Thanks to Clare for some great hints and tips on how to do this!) I added some micro beads in random places and left it to dry overnight...
 When it was finally dry, I painted the whole cover with red acrylic paint. Again let that dry. And then added lots of Twinkling H2Os randomly everywhere (reds, bronzes, coppers and golds). Finally onto the title. It's just plain chipboard letters painted with acrylic paint and then lots of Stickles glitter glue! Unfortunately the photos don't do the album justice at all. It's the most textured surface you can imagine which shimmers beautifully under the lights and the title sparkles in a rainbow of colours...


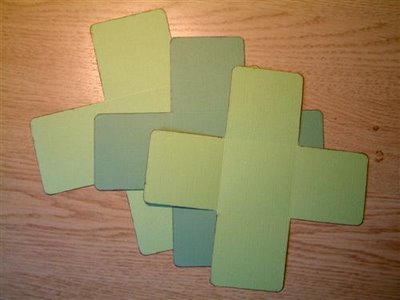
 2. Now score each sheet according to the measurements below. You score on all four sides (see photo below).
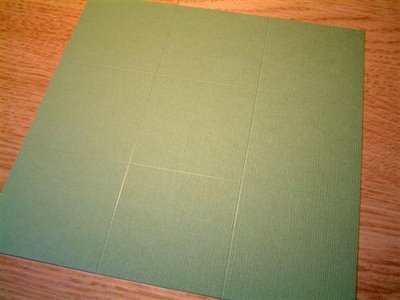 3. Following your scored lines, cut off all four corners on all three pieces.
 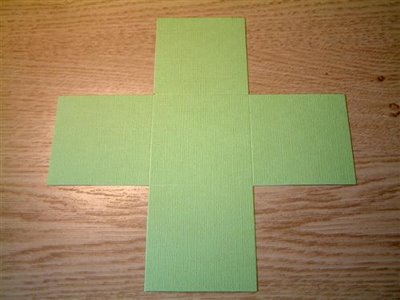 4. At this point (and this is optional) you might want to ink the edges (don’t forget to do both sides!) and/or round the corners.
  5. Now you need to glue together your pieces. It’s easiest if you start by putting the smallest piece on to the middle piece and then the medium (+smallest) piece onto the largest one. I would suggest you use double-sided tape for this. You ONLY put your tape/glue on the MIDDLE square. Like this:
 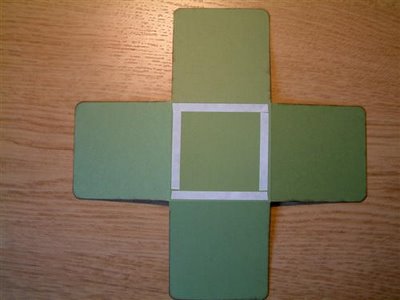 …and don’t forget you do NOT need glue on the back of your largest piece. Once you have put them together, you should end up with something looking like this:
 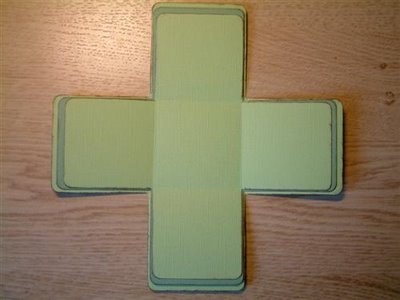 6. Fold up the edges of your scored lines.
 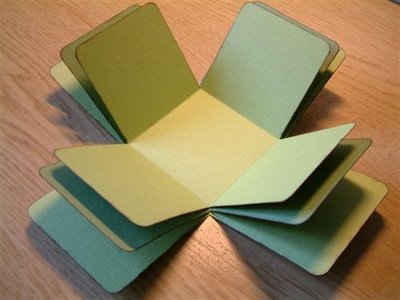 7. Now you can put the box to one side. It’s finished for you to continue decorating now or later. Onto the box lid:
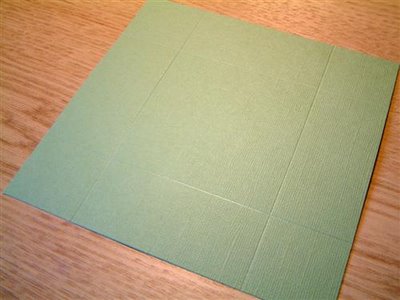 10. Right, this might be a bit tricky to explain in words, but the photo below should help you. TURN YOUR CARD OVER and you need to score from the tip of each corner, diagonally, until you meet your scored “corner” lines. See photos:
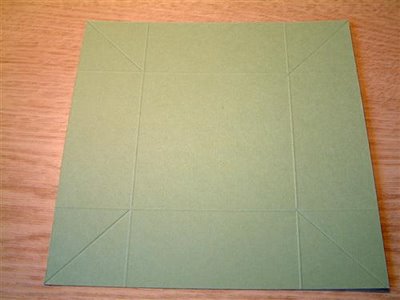
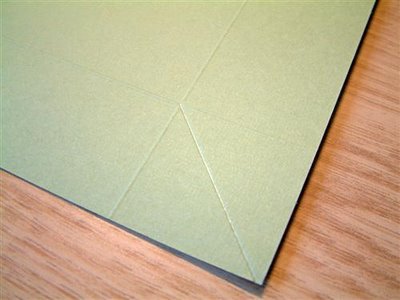 11. Fold all your scorelines and pinch the corners and fold them inwards. See photo:
 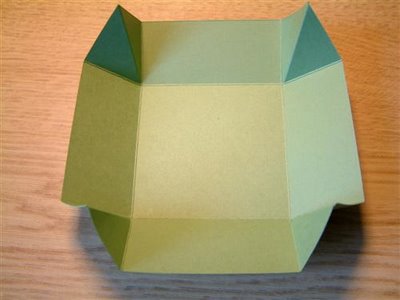 12. Glue the corners in place. I found that double-sided tape was NOT strong enough for this (it holds for a little while and then lets go) so I would recommend a wet glue, something like Glossy Accents or Diamond Glaze for this. You can either hold the corners for a little minute until the glue is dry enough to hold the corners in place, or you can use some paperclips to hold the corners in place while drying.
 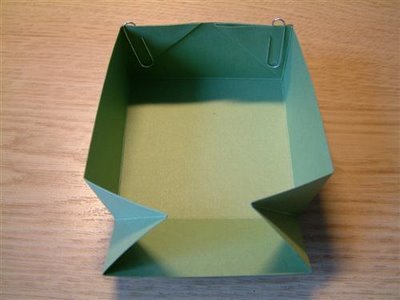 ...your lid should now be finished and look like this:
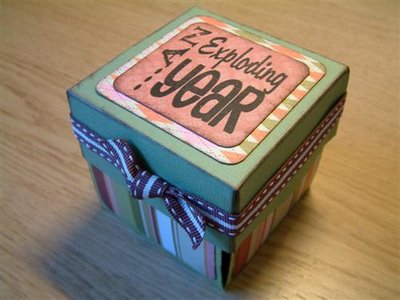
 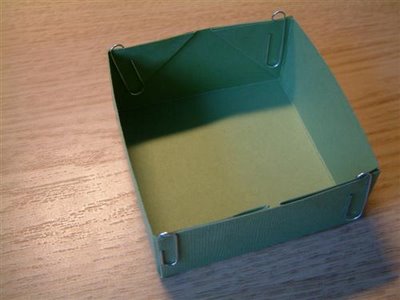 And your finished complete box should look something like this:
 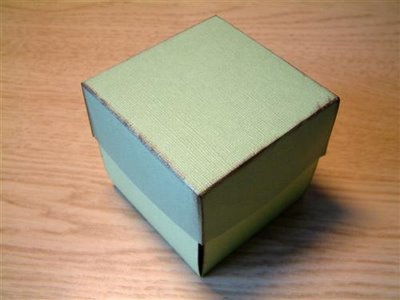 If you want to continue decorating your box, I would recommend the following measures for your paper (I’m swapping to metric now since it’s easier to be more exact):
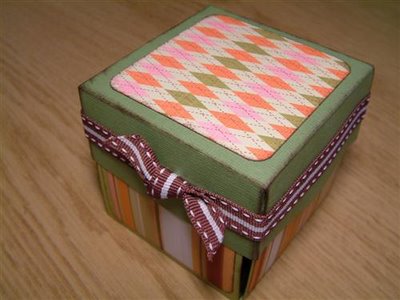
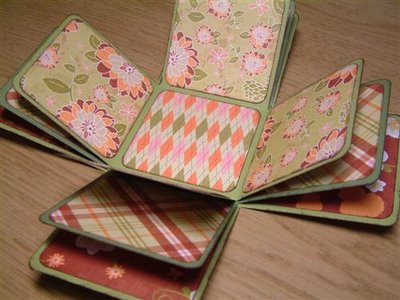 I have used small photos in mine. I used 20 photos in my box. One on each page (not on the lid, centre square, or the four sides that makes up the outside of the box) and I printed my photos: 8 photos to a 15x10cm photo (6x4 inches). Very easy if you have an Epson PictureMate. Each little photo measures: 5x4 cm.
 I hope you have enjoyed my class and thank you so much for taking it!